PyMySQL Python 操作 MySQL 使用 pymysql 进行 python 与 mysql 的操作
1 2 3 4 5 6 7 8 9 10 11 12 13 14 15 16 17 18 19 20 21 import pymysqlconn = pymysql.connect(user='root' , password='980226' , host='localhost' , database='tlxy' , charset='utf8mb4' , cursorclass=pymysql.cursors.DictCursor) try : cursor = conn.cursor() sql = 'select * from users' cursor.execute(sql) conn.commit() data = cursor.fetchall() except : conn.rollback() finally : conn.close() print (data)
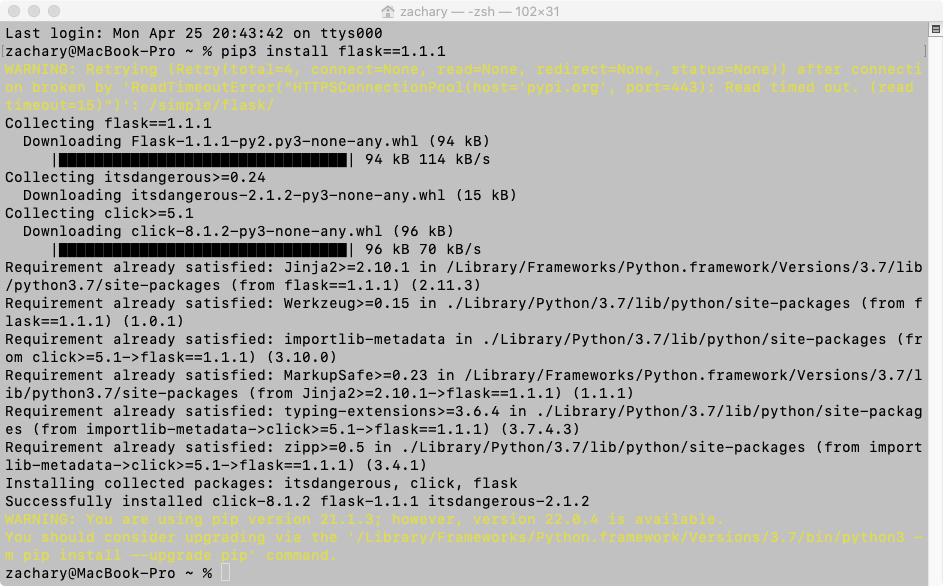
Web 版的在线留言板 1.flask 框架实现 web 的基本搭建 安装 flask 框架
使用 flask 框架实现 web 的基本搭建 由于使用的是 flask 1.1.1 的版本所以会报错一个东西 只需要在命令行中键入 pip3 install itsdangerous==2.0.1
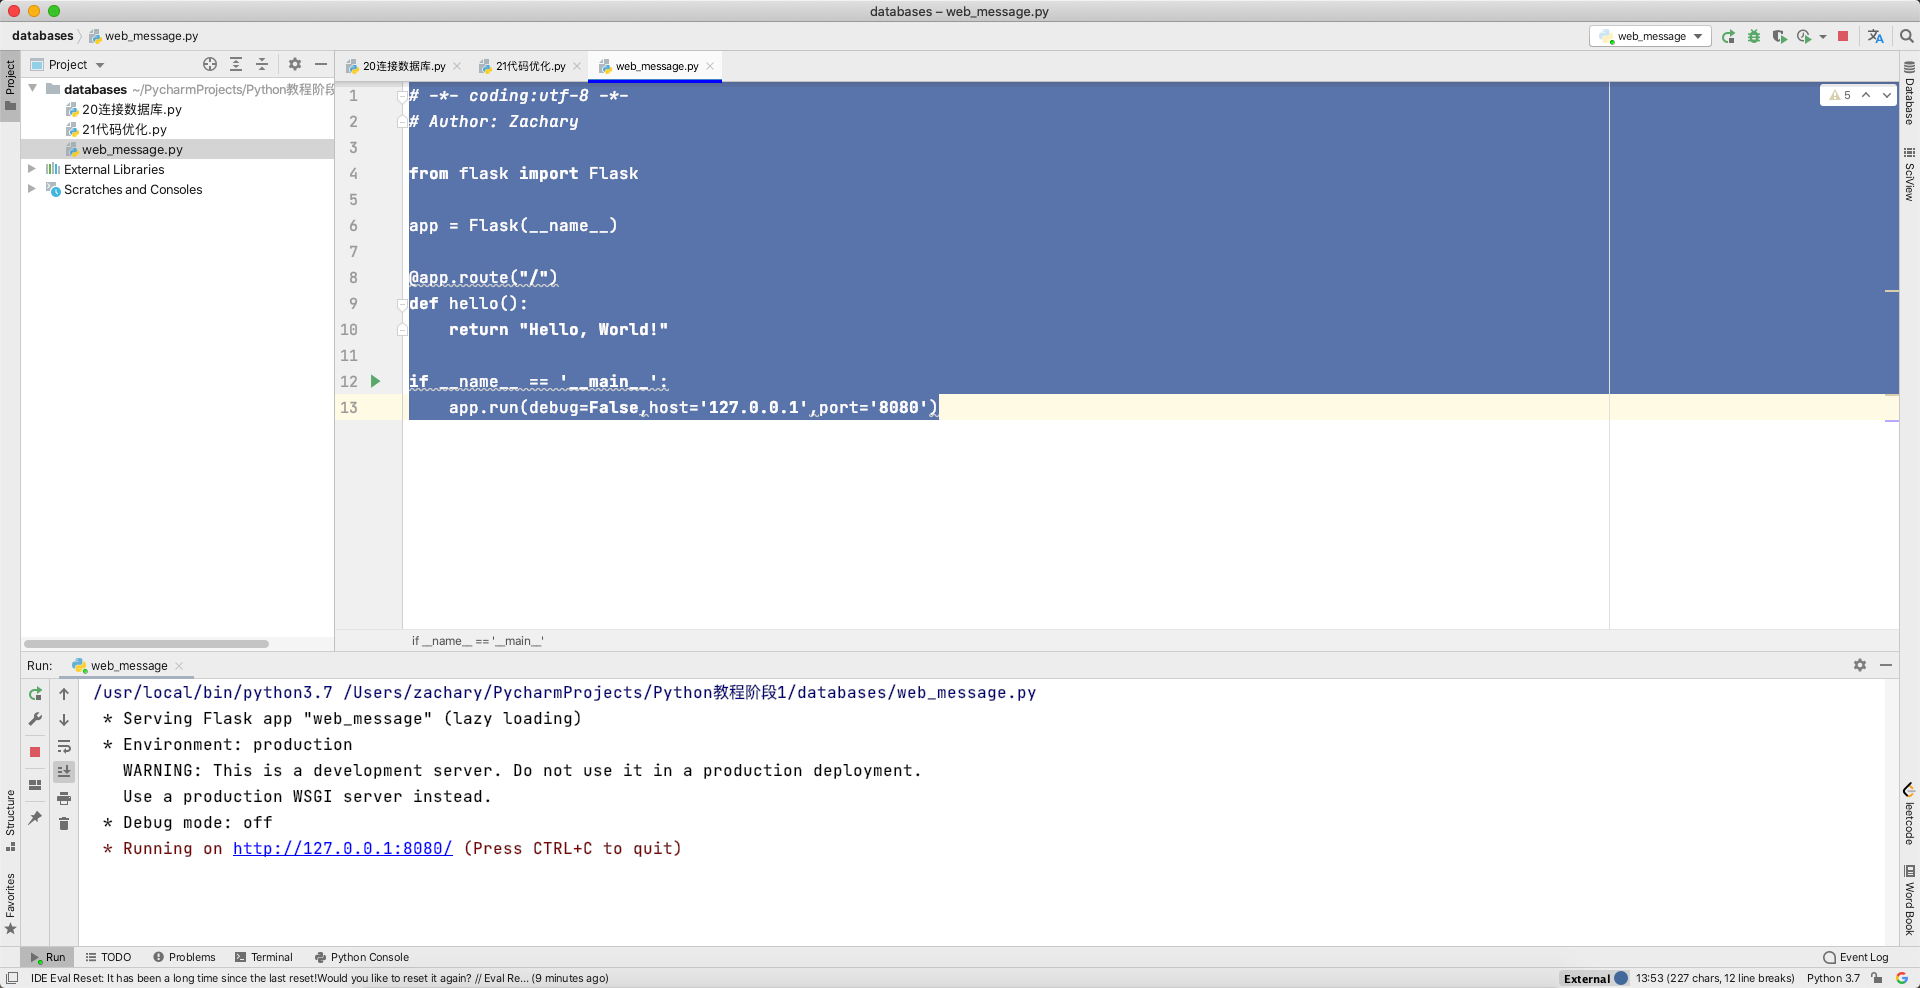
新建一个 flask 代码
1 2 3 4 5 6 7 8 9 10 11 12 13 from flask import Flaskapp = Flask(__name__) @app.route("/" def hello (): return "Hello, World!" if __name__ == '__main__' : app.run(debug=False ,host='127.0.0.1' ,port='8080' )
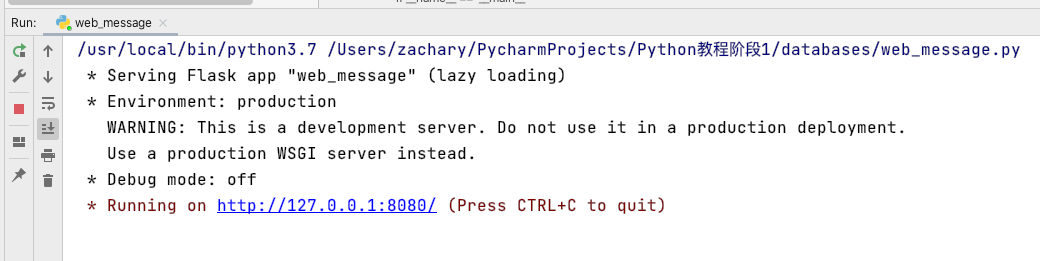
运行代码后
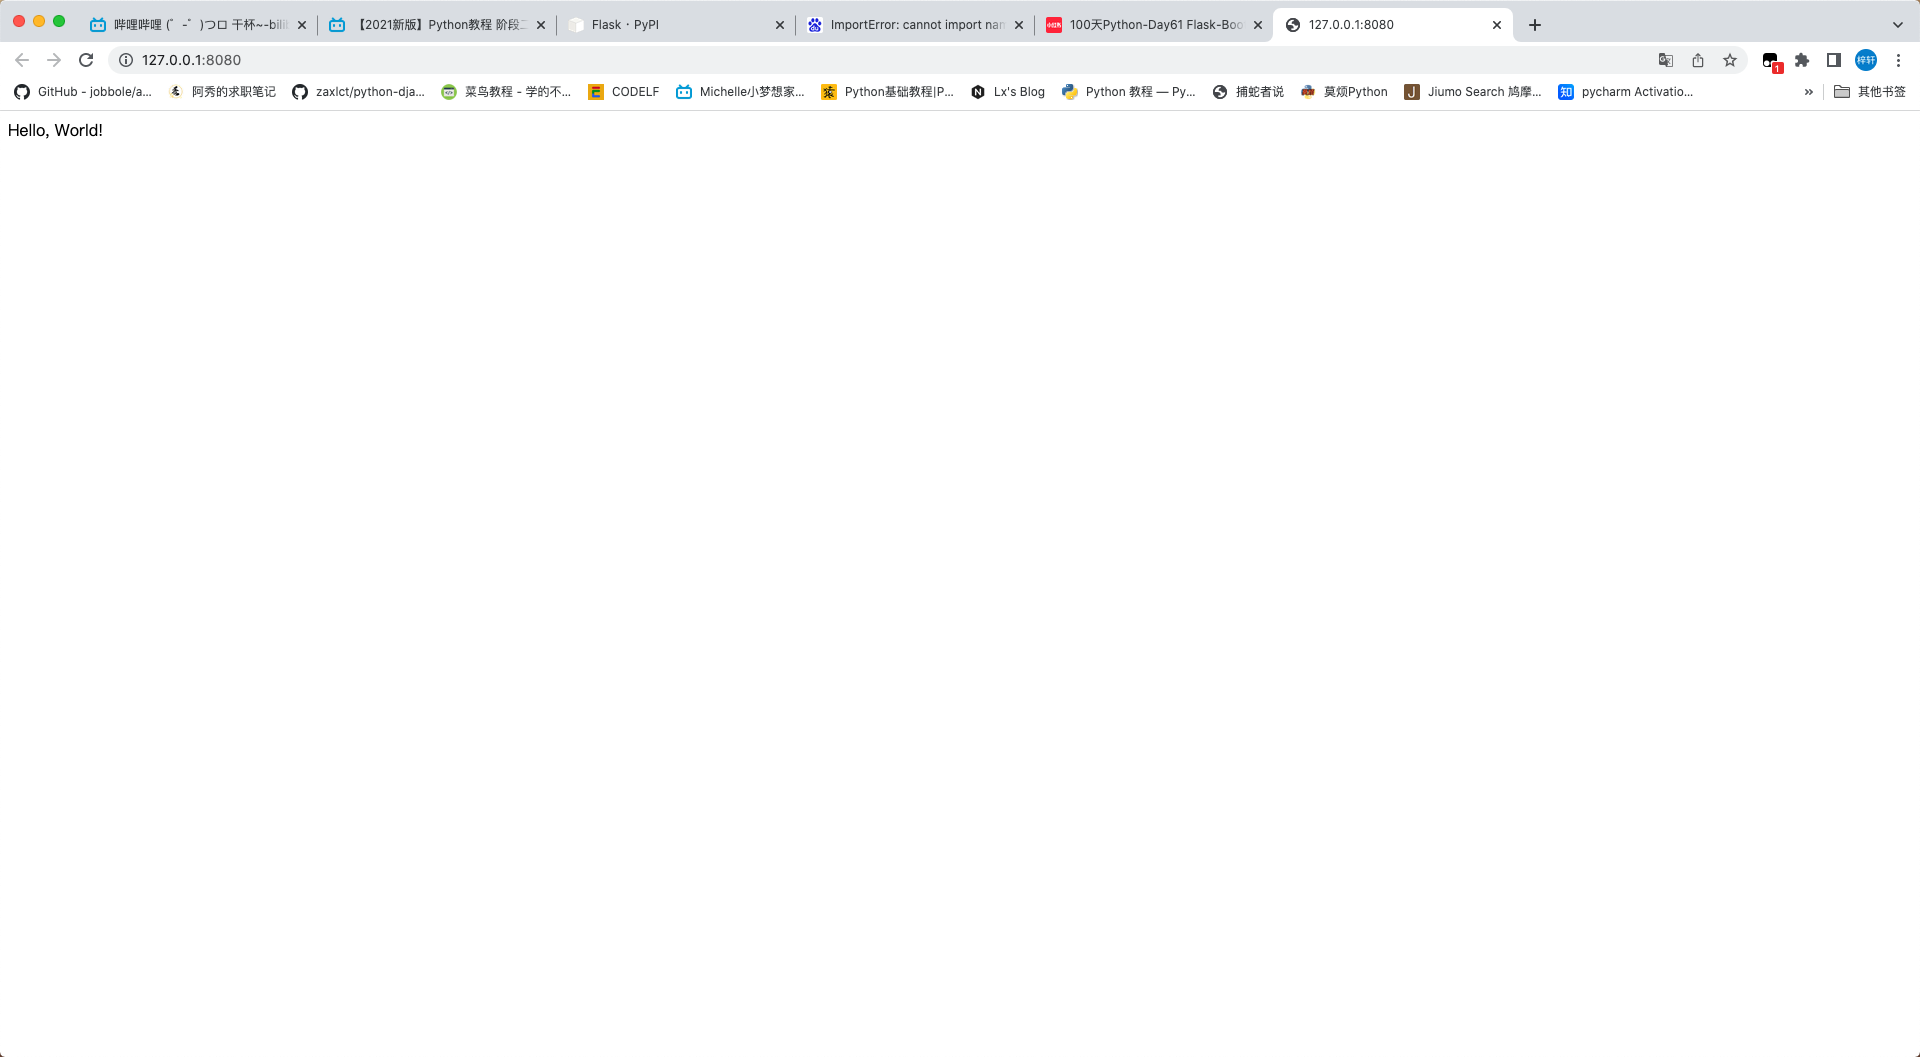
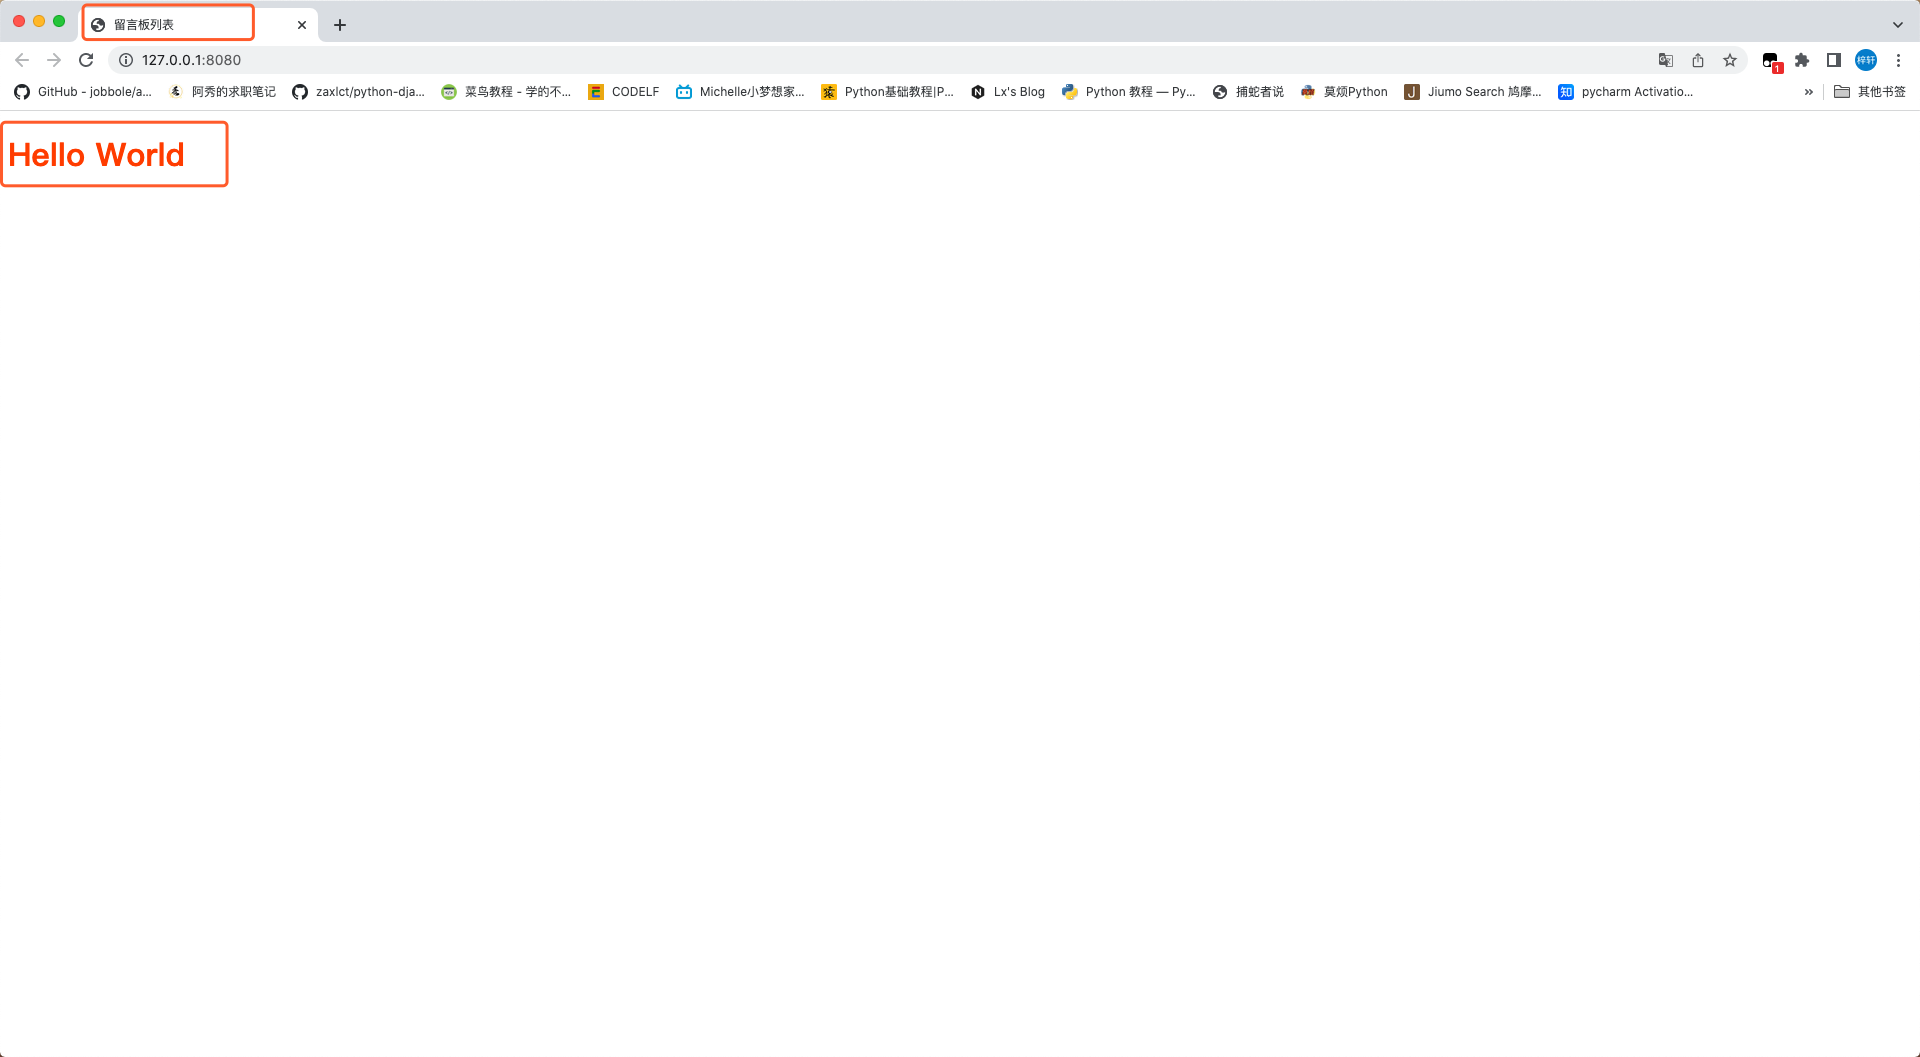
在浏览器中输入相应的 ip 及端口号
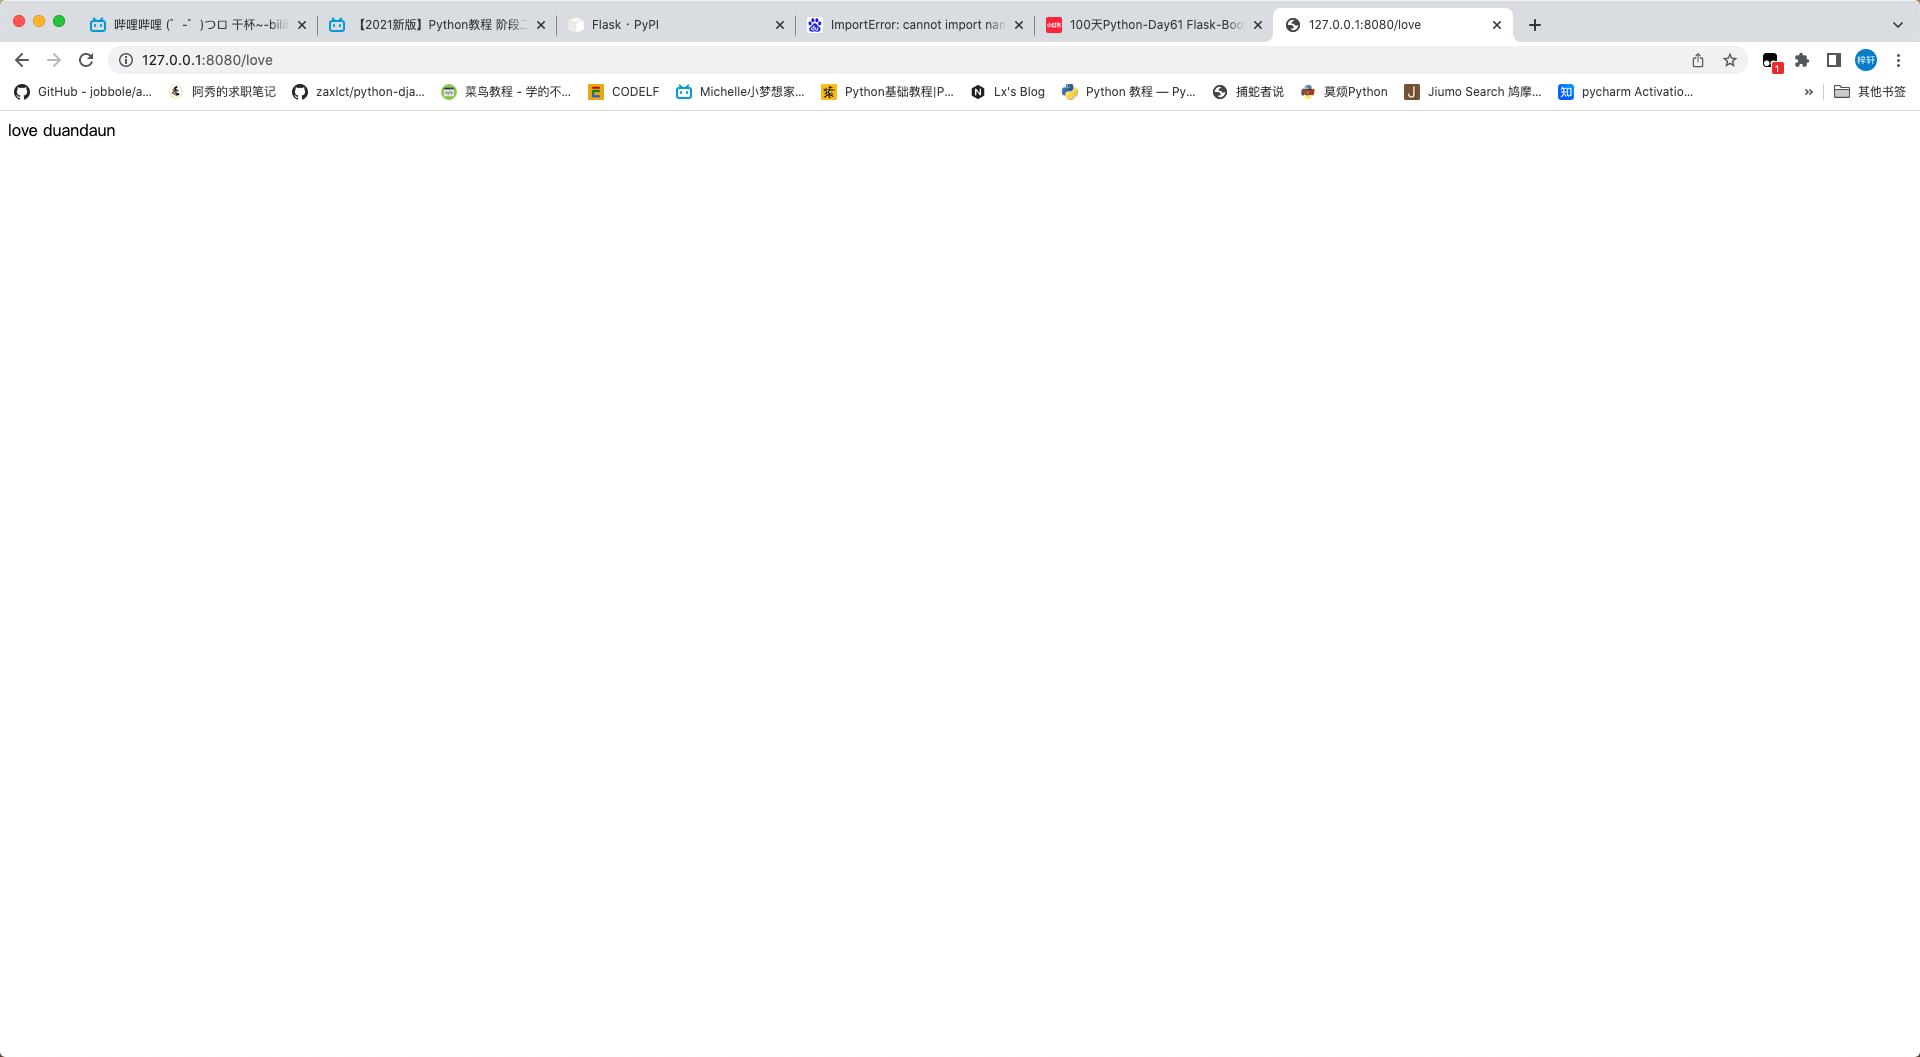
修改一下代码变成这样子
1 2 3 4 5 6 7 8 9 10 11 12 13 14 15 16 17 from flask import Flaskapp = Flask(__name__) @app.route("/" def hello (): return "Hello, World!" @app.route("/love" def love (): return "love duandaun" if __name__ == '__main__' : app.run(debug=False ,host='127.0.0.1' ,port='8080' )
2.留言板数据库的设计与创建
留言板的数据需要包括 id nickname 昵称 info 留言信息 date 留言时间
1
2
3
4
5
6
CREATE TABLE lyb( id int unsigned not null auto_increment primary key, nickname varchar(6) not null, info text not null, date datetime not null )engine=Innodb default charset=utf8mb4;
1
2
3
4
5
6
7
8
9
10
11
12
13
14
15
16
17
18
19
20
21
22
mysql> INSERT INTO lyb values(null,'duan','我要吃火锅!','2022-04-25 21:26:55'); Query OK, 1 row affected (0.01 sec) mysql> select * from lyb; +----+----------+------------------+---------------------+ | id | nickname | info | date | +----+----------+------------------+---------------------+ | 1 | duan | 我要吃火锅! | 2022-04-25 21:26:55 | +----+----------+------------------+---------------------+ 1 row in set (0.00 sec) mysql> INSERT INTO lyb values(null,'huang','走!我带你去','2022-04-25 21:30:10'); Query OK, 1 row affected (0.00 sec) mysql> select * from lyb; +----+----------+--------------------+---------------------+ | id | nickname | info | date | +----+----------+--------------------+---------------------+ | 1 | duan | 我要吃火锅! | 2022-04-25 21:26:55 | | 2 | huang | 走!我带你去 | 2022-04-25 21:30:10 | +----+----------+--------------------+---------------------+ 2 rows in set (0.00 sec)
1 2 3 4 5 6 7 8 9 10 11 12 13 14 15 16 17 18 19 20 21 22 23 24 25 26 27 28 29 30 31 32 33 34 35 36 37 38 39 40 41 42 43 from flask import Flaskimport pymysqlapp = Flask(__name__) @app.route("/" def hello (): data = model('select * from lyb' ) print (data) return "Hello, World!" def model (sql ): conn = pymysql.connect(user='root' , password='980226' , host='localhost' , database='tlxy' , charset='utf8mb4' , cursorclass=pymysql.cursors.DictCursor) try : cursor = conn.cursor() row = cursor.execute(sql) conn.commit() data = cursor.fetchall() if data: return data else : return row except : conn.rollback() finally : conn.close() if __name__ == '__main__' : app.run(debug=False ,host='127.0.0.1' ,port='8080' )
运行代码之后,可以看到网页的”Hello, World!”,还能在控制端看到
3.web 留言板列表显示
使用 flask 中的 render_template 渲染模板
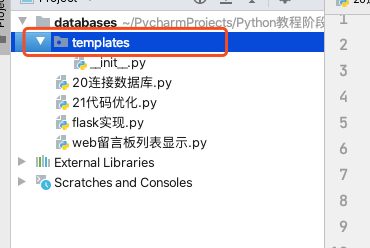
首先在当前项目路径下创建一个 Python package 名称为 templates
紧接着 在这个 package 下创建一个 index.html
1
2
3
4
5
6
7
8
9
10
<!DOCTYPE html > <html > <head > <meta charset ="UTF-8" /> <title > 留言板列表</title > </head > <body > <h1 style ="color: orangered" > Hello World</h1 > </body > </html >
使用 Python 的 render 测试一下
1 2 3 4 5 6 7 8 9 10 11 12 13 14 15 16 17 18 19 20 21 22 23 24 25 26 27 28 29 30 31 32 33 34 35 36 37 38 39 40 41 42 from flask import Flask,render_templateimport pymysqlapp = Flask(__name__) @app.route("/" def hello (): data = model('select * from lyb' ) return render_template('index.html' ,data=data) def model (sql ): conn = pymysql.connect(user='root' , password='980226' , host='localhost' , database='tlxy' , charset='utf8mb4' , cursorclass=pymysql.cursors.DictCursor) try : cursor = conn.cursor() row = cursor.execute(sql) conn.commit() data = cursor.fetchall() if data: return data else : return row except : conn.rollback() finally : conn.close() if __name__ == '__main__' : app.run(debug=False ,host='127.0.0.1' ,port='8080' )
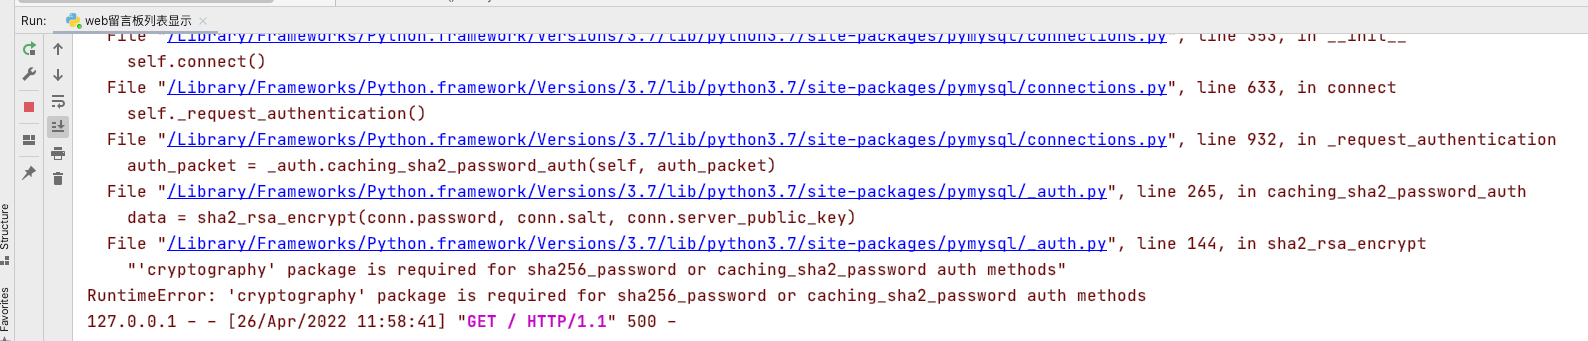
运行之后会出现错误
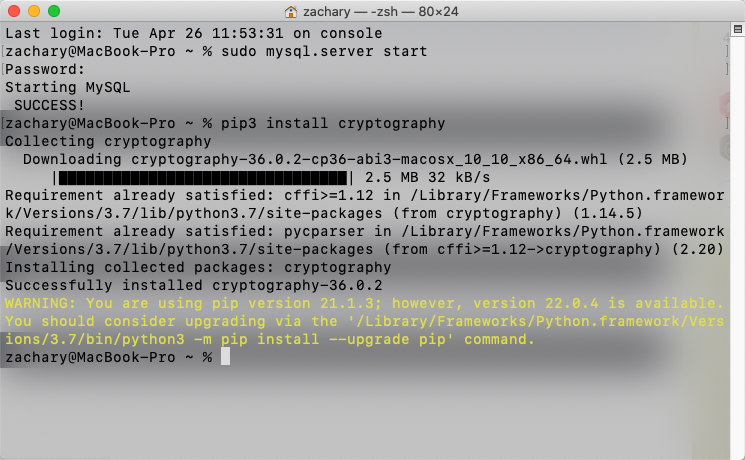
安装一下这个 cryptography 库 pip3 install cryptography
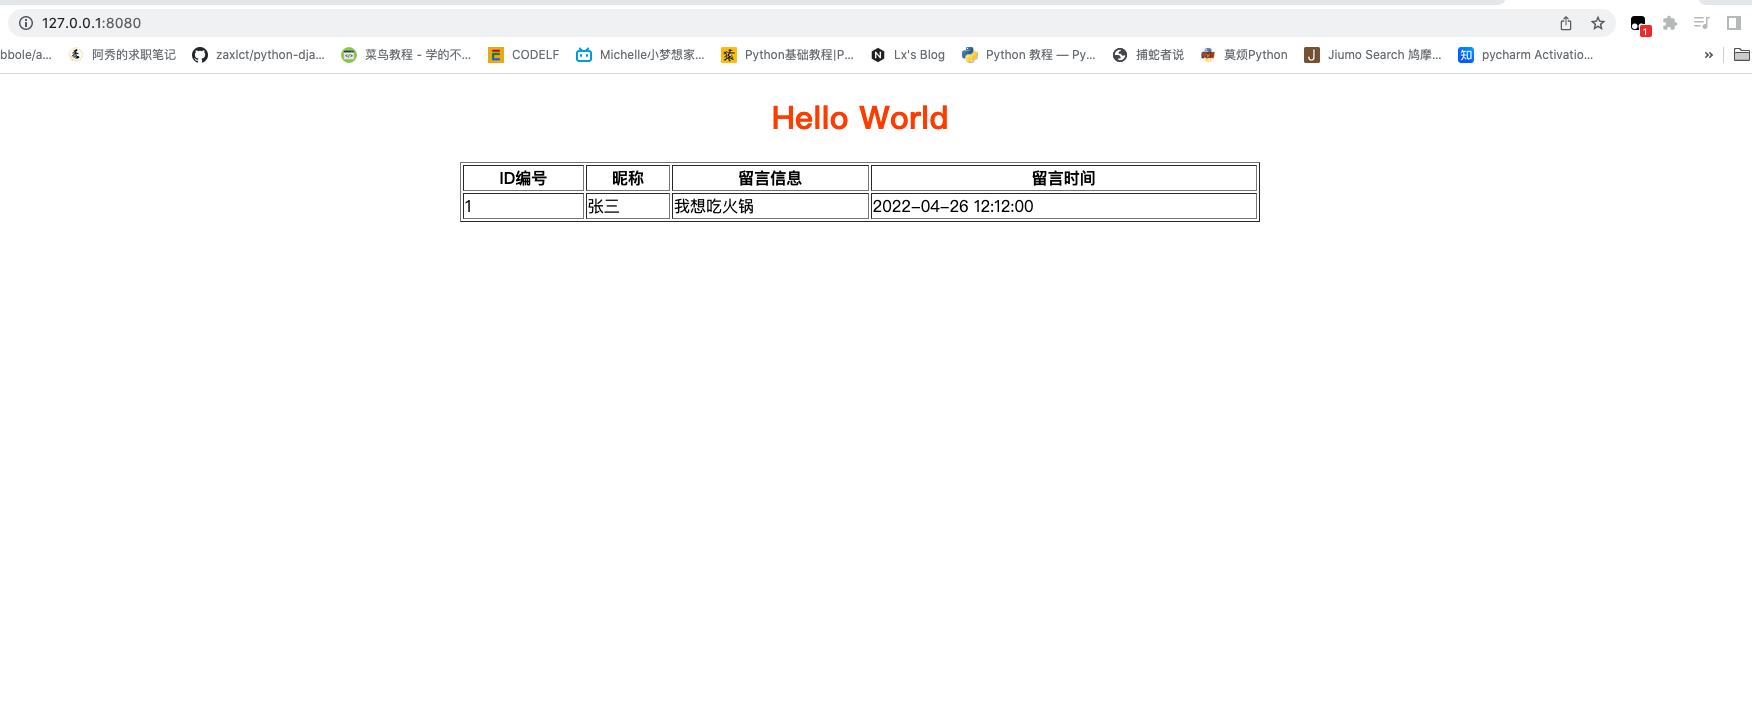
之后再运行代码
1
2
3
4
5
6
7
8
9
10
11
12
13
14
15
16
17
18
19
20
21
22
23
24
25
26
<!DOCTYPE html > <html > <head > <meta charset ="UTF-8" /> <title > 留言板列表</title > </head > <body > <center > <h1 style ="color: orangered" > Hello World</h1 > <table border ="1" width ="800" > <tr > <th > ID编号</th > <th > 昵称</th > <th > 留言信息</th > <th > 留言时间</th > </tr > <tr > <td > 1</td > <td > 张三</td > <td > 我想吃火锅</td > <td > 2022-04-26 12:12:00</td > </tr > </table > </center > </body > </html >
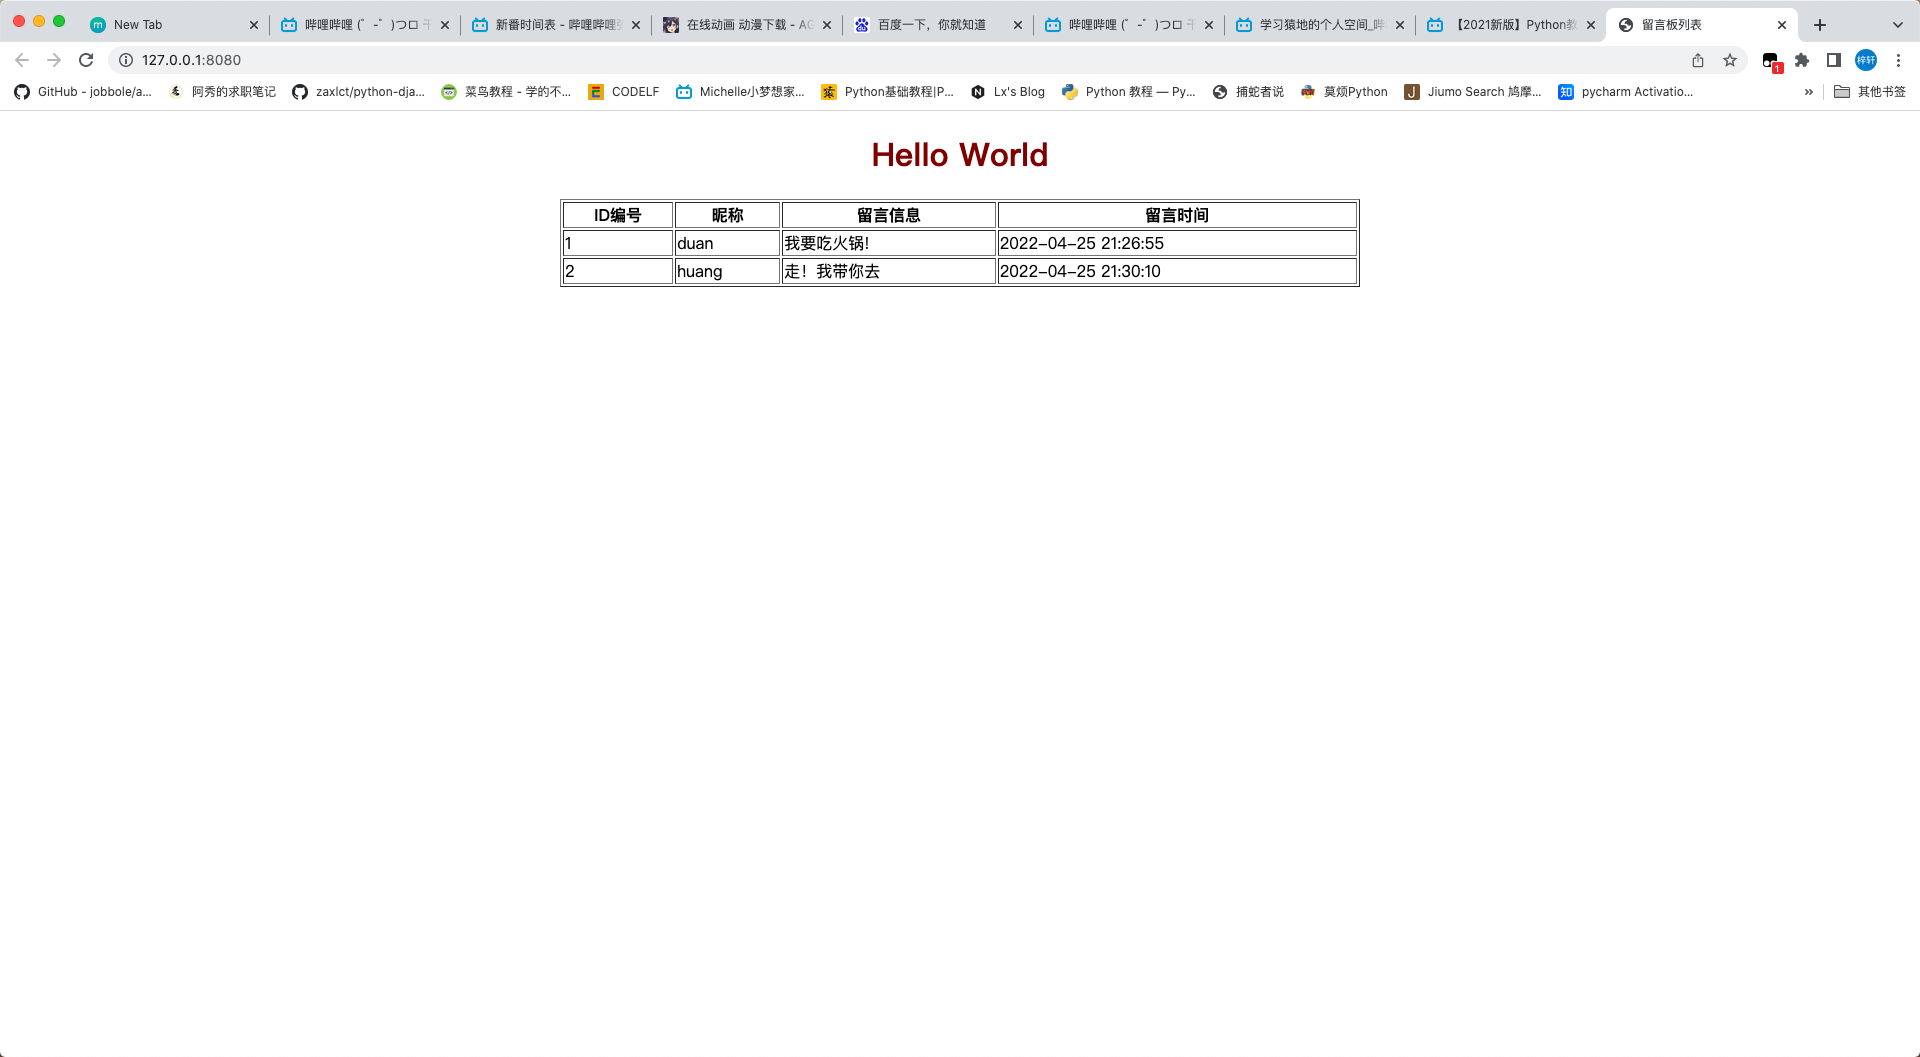
1
2
3
4
5
6
7
8
9
10
11
12
13
14
15
16
17
18
19
20
21
22
23
24
25
26
27
28
<!DOCTYPE html > <html > <head > <meta charset ="UTF-8" /> <title > 留言板列表</title > </head > <body > <center > <h1 style ="color: darkred" > Hello World</h1 > <table border ="1" width ="800" > <tr > <th > ID编号</th > <th > 昵称</th > <th > 留言信息</th > <th > 留言时间</th > </tr > {% for i in data %} <tr > <td > {{ i.id }}</td > <td > {{ i.nickname }}</td > <td > {{ i.info }}</td > <td > {{ i.date }}</td > </tr > {% endfor %} </table > </center > </body > </html >
4.web 留言板的添加表单
首先创建一个新的 html –> add.html
1
2
3
4
5
6
7
8
9
10
11
12
13
14
15
16
17
18
19
20
21
22
23
24
25
26
27
28
29
30
31
32
33
34
<!DOCTYPE html > <html > <head > <meta charset ="UTF-8" /> <title > 添加留言</title > </head > <body > <center > <table > <form action ="/insert" method ="post" > <tr > <td > 昵称:</td > <td > <input type ="text" name ="nickname" /> </td > </tr > <tr > <td > 留言信息:</td > <td > <textarea name ="info" id ="" cols ="30" rows ="10" > 请留下你的信息 </textarea > </td > </tr > <tr > <th colspan ="2" > <button > 添加</button > </th > </tr > </form > </table > </center > </body > </html >
1 2 3 4 @app.route("/add" def add (): return render_template('add.html' )
1
2
3
4
5
6
7
8
9
10
11
12
13
14
15
16
17
18
19
20
21
22
23
24
25
26
27
28
29
<!DOCTYPE html > <html > <head > <meta charset ="UTF-8" /> <title > 留言板列表</title > </head > <body > <center > <h1 style ="color: darkred" > 留言列表</h1 > <h3 > <a href ="/add" > 发布留言</a > </h3 > <table border ="1" width ="800" > <tr > <th > ID编号</th > <th > 昵称</th > <th > 留言信息</th > <th > 留言时间</th > </tr > {% for i in data %} <tr > <td > {{ i.id }}</td > <td > {{ i.nickname }}</td > <td > {{ i.info }}</td > <td > {{ i.date }}</td > </tr > {% endfor %} </table > </center > </body > </html >
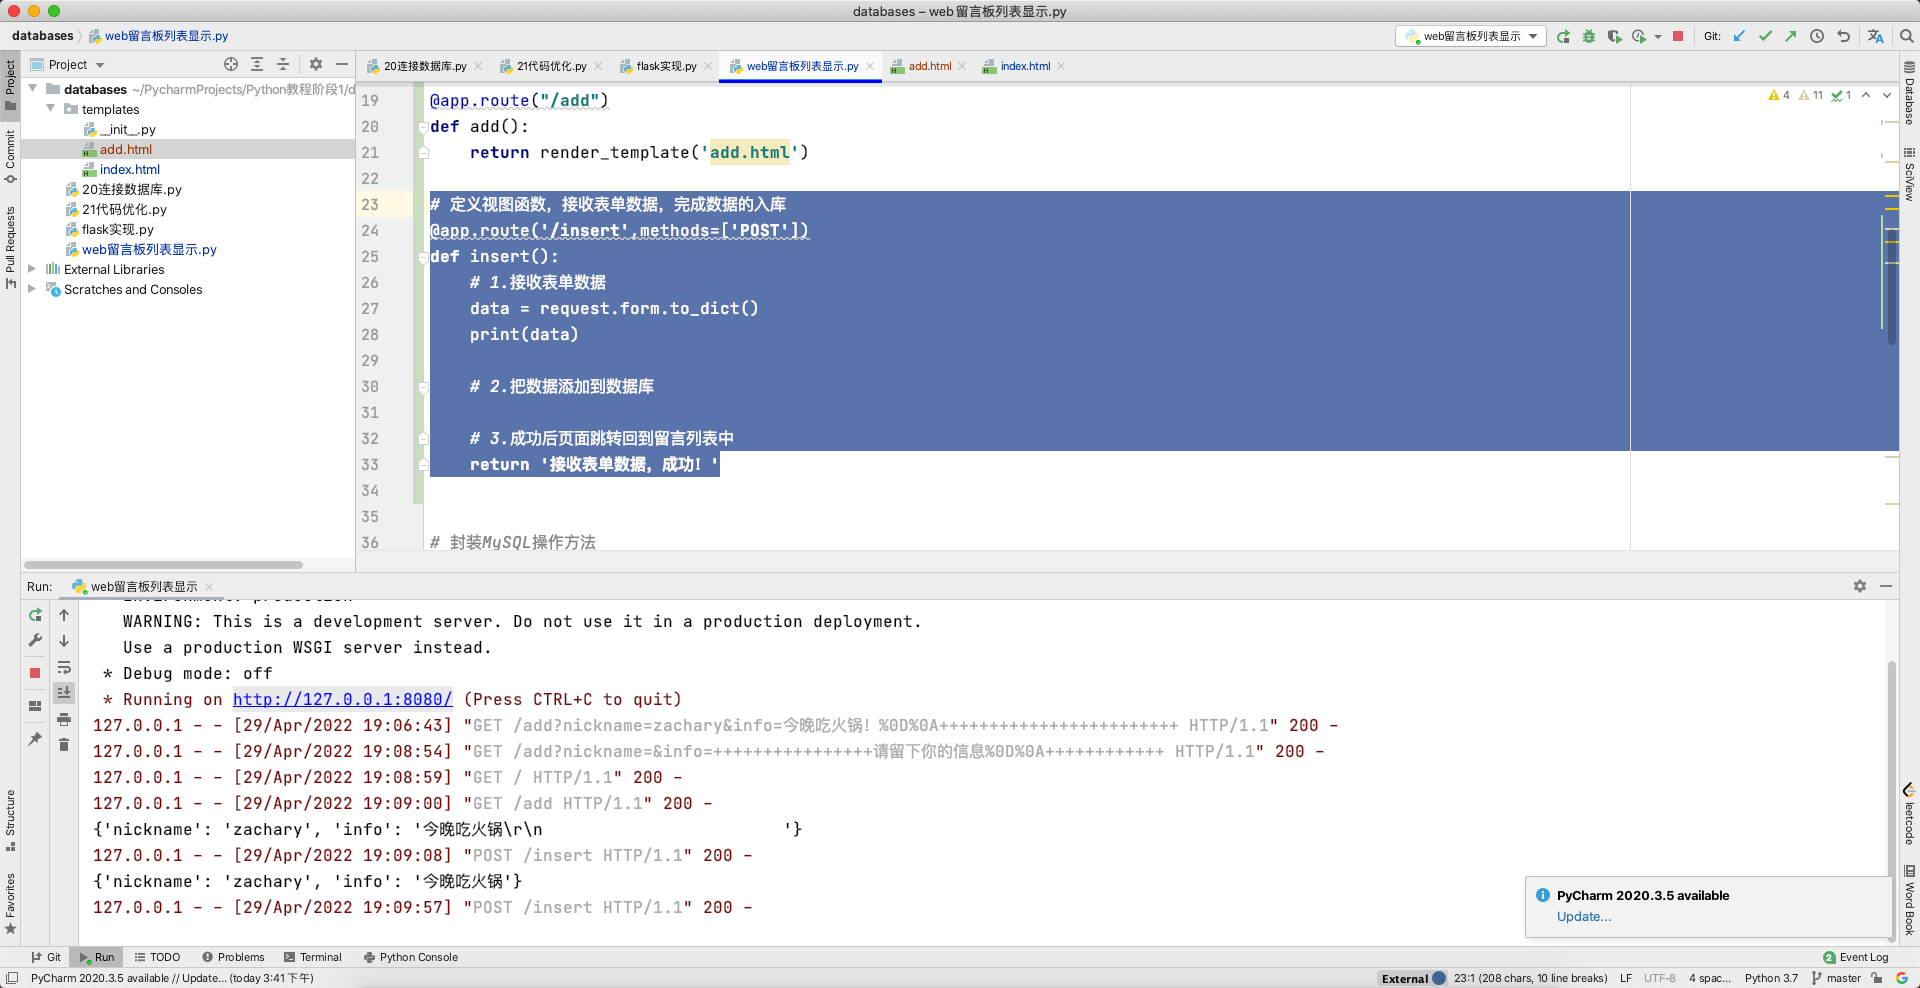
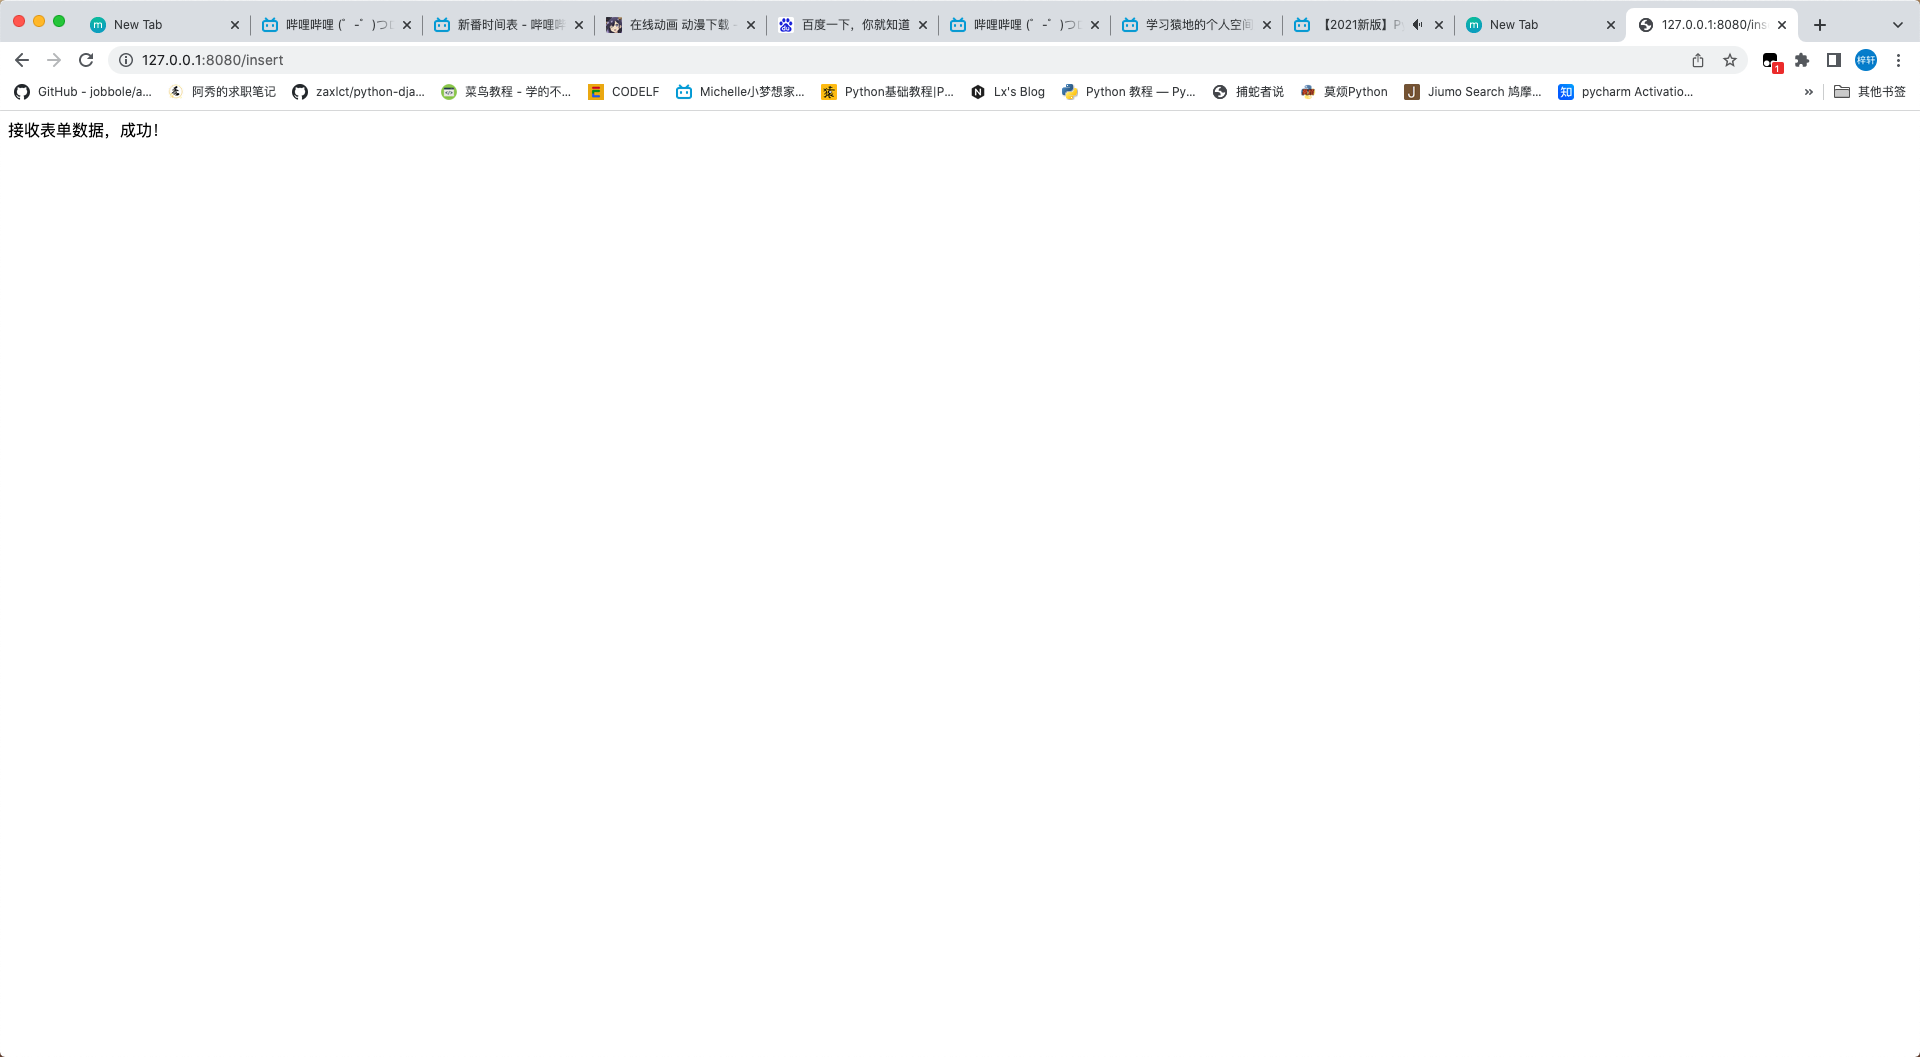
1 2 3 4 5 6 7 8 9 10 11 @app.route('/insert' ,methods=['POST' ] def insert (): data = request.form.to_dict() print (data) return '接收表单数据,成功!'
5.web 留言板的留言入库 定义视图,提供一个添加留言的链接
1 2 3 4 5 6 7 8 9 10 11 12 13 14 15 16 17 18 19 20 21 22 23 24 25 @app.route("/add" def add (): return render_template('add.html' ) @app.route('/insert' ,methods=['POST' ] def insert (): data = request.form.to_dict() data['date' ] = time.strftime('%Y-%m-%d %H:%M:%S' ) sql = f"insert into lyb values(null ,'{data['nickname' ]} ','{data['info' ]} ','{data['date' ]} ')" res = model(sql) if res: return '<script>alert("留言成功");location.href="/"</script>' else : return '<script>alert("留言发布失败");location.href="/add/"</script>'
add.html 修改为
1
2
3
4
5
6
7
8
9
10
11
12
13
14
15
16
17
18
19
20
21
22
23
24
25
26
27
28
29
30
31
32
<!DOCTYPE html > <html > <head > <meta charset ="UTF-8" /> <title > 添加留言</title > </head > <body > <center > <table > <form action ="/insert" method ="post" > <tr > <td > 昵称:</td > <td > <input type ="text" name ="nickname" /> </td > </tr > <tr > <td > 留言信息:</td > <td > <textarea name ="info" id ="" cols ="30" rows ="10" > 请留下你的信息</textarea > </td > </tr > <tr > <th colspan ="2" > <button > 添加</button > </th > </tr > </form > </table > </center > </body > </html >
index.html 修改为
1
2
3
4
5
6
7
8
9
10
11
12
13
14
15
16
17
18
19
20
21
22
23
24
25
26
27
28
29
<!DOCTYPE html > <html > <head > <meta charset ="UTF-8" /> <title > 留言板列表</title > </head > <body > <center > <h1 style ="color: darkred" > 留言列表</h1 > <h3 > <a href ="/add" > 发布留言</a > </h3 > <table border ="1" width ="800" > <tr > <th > ID编号</th > <th > 昵称</th > <th > 留言信息</th > <th > 留言时间</th > </tr > {% for i in data %} <tr > <td > {{ i.id }}</td > <td > {{ i.nickname }}</td > <td > {{ i.info }}</td > <td > {{ i.date }}</td > </tr > {% endfor %} </table > </center > </body > </html >
6.web 留言板的删除 添加一个删除操作
1 2 3 4 5 6 7 8 9 10 11 12 13 14 15 16 @app.route('/delete' def delete (): id = request.args.get('id' ) sql = f'delete from lyb where id = {id } ' res = model(sql) if res: return '<script>alert("留言删除成功");location.href="/"</script>' else : return '<script>alert("留言删除失败");location.href="/"</script>'
再修改一下 index.html
1
2
3
4
5
6
7
8
9
10
11
12
13
14
15
16
17
18
19
20
21
22
23
24
25
26
27
28
29
30
31
<!DOCTYPE html > <html > <head > <meta charset ="UTF-8" /> <title > 留言板列表</title > </head > <body > <center > <h1 style ="color: darkred" > 留言列表</h1 > <h3 > <a href ="/add" > 发布留言</a > </h3 > <table border ="1" width ="800" > <tr > <th > ID编号</th > <th > 昵称</th > <th > 留言信息</th > <th > 留言时间</th > <th > 操作</th > </tr > {% for i in data %} <tr > <td > {{ i.id }}</td > <td > {{ i.nickname }}</td > <td > {{ i.info }}</td > <td > {{ i.date }}</td > <td > <a href ="/delete?id={{ i.id }}" > 删除</a > </td > </tr > {% endfor %} </table > </center > </body > </html >
更新: 2024-01-23 06:41:07https://www.yuque.com/zacharyblock/cx2om6/gbi35gelzgfknekv
Author:
Zachary Block
Permalink:
http://blockzachary.cn/blog/2532370537/
License:
Copyright (c) 2019 CC-BY-NC-4.0 LICENSE